From Dance Floor Hit to Cinematic Ballad: Crafting a Pop Cover in Ableton 12
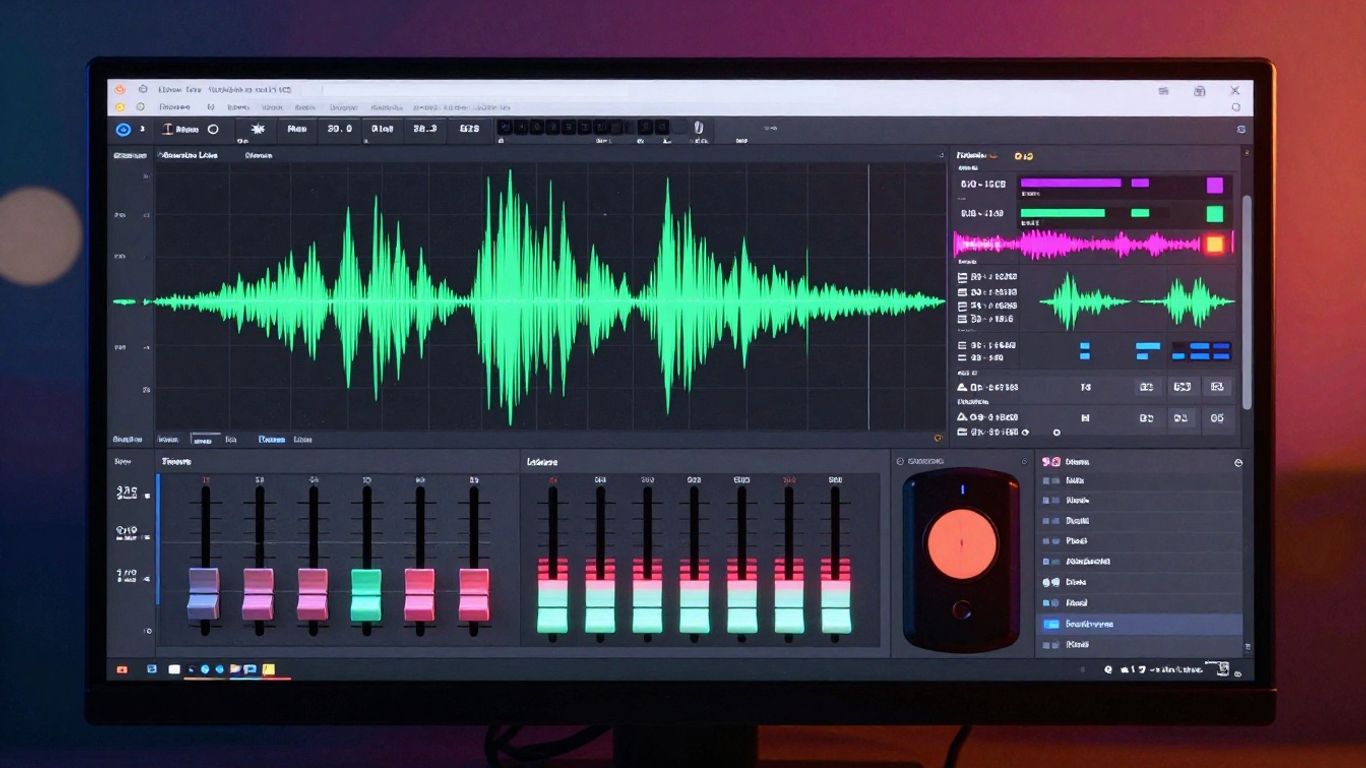
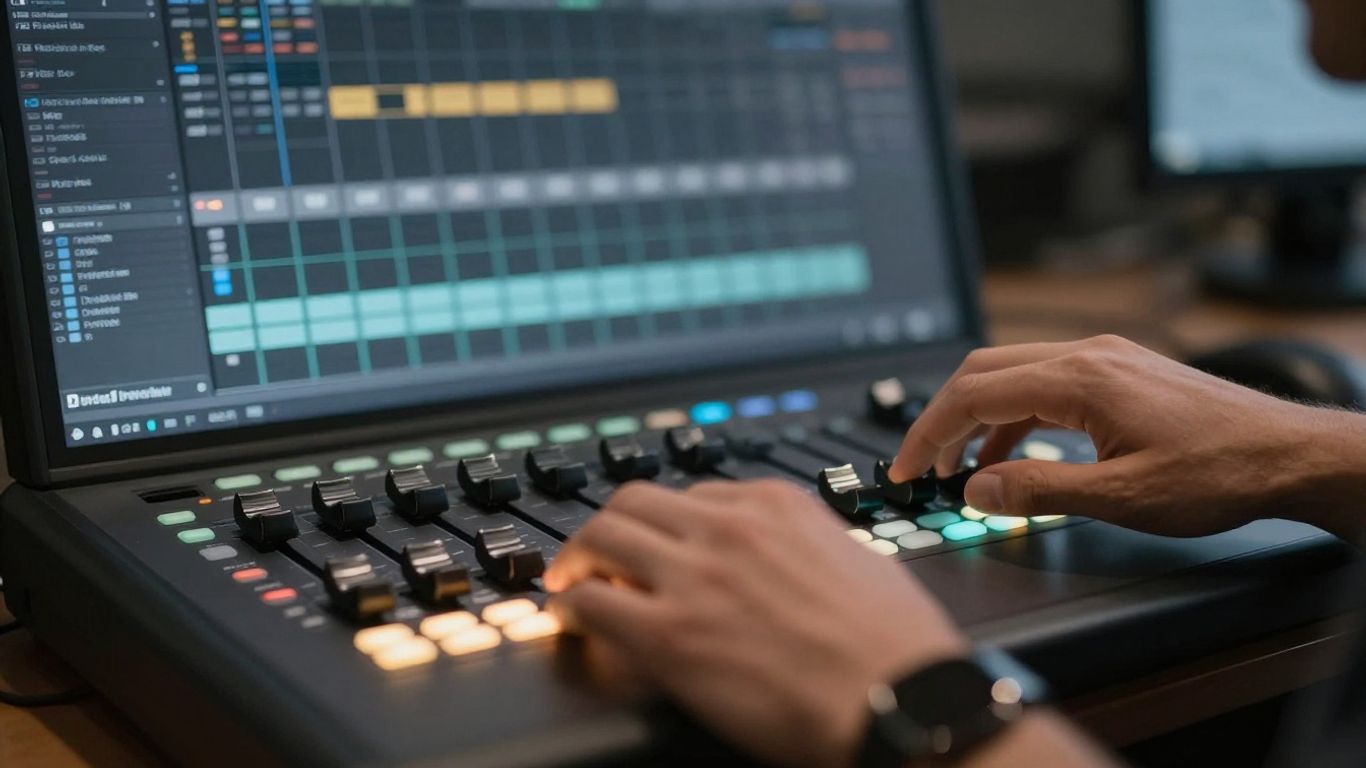
This video takes you through the entire process of creating a song from scratch, transforming a classic dance track into a slow, cinematic pop ballad. We cover everything from initial chord progressions and instrument layering to vocal recording, mixing, and mastering, all within Ableton 12.
Key Takeaways
- Start with a clear vision for your song's mood and tempo.
- Layering different instruments and textures builds a rich sonic landscape.
- Vocal recording and mixing are key to a polished final product.
- Utilize your DAW's built-in effects and templates to speed up workflow.
- Mastering is the final step to ensure your track sounds professional and loud.
Setting the Cinematic Vibe
We kicked things off by opening a fresh Ableton 12 session and immediately dropping the tempo to 92 BPM. This slower pace is perfect for that deep, cinematic feel we were going for. To get started, we searched for a virtual piano in Omnisphere, looking for something with a mysterious and deep tone. The spooky piano preset we found fit the bill perfectly, and we laid down a simple chord progression in A minor.
To add even more depth, we used a plugin called Initial Reverse to blend reversed piano chords into the background. A bit of flanger and auto pan on this reversed layer gave it some nice movement. Next, we brought in a guitar part, again using Omnisphere. The idea was to play the same chord progression but have it sound like individual, arpeggiated notes, as if a guitar player was picking them. We added an arpeggiator before Omnisphere, set to eighth notes with a pattern called "pinky up," and a touch of Ableton's stock reverb for that extra sparkle.
Building the Foundation: Bass and 808s
With the melodic elements in place, it was time to add some low-end power. We layered in a driving bass guitar line, using the arpeggiator feeding into a contact bass with some distortion for grit. Then, to really widen the low end, we introduced a detuned bass synth. There was a funny moment where we experimented with the pitch bend wheel, pretending to be experts, only to realize we weren't even recording! Luckily, Ableton's recovery feature saved the day.
For the real bass punch, we turned to "Disrespectful 808s" from Whole Loops. By switching the simpler to sampler mode and creating a loop region, we could extend the 808s and get a cool swelling effect as they looped back in reverse. On top of this, we added some trippy plucks with long reverb and ping pong delays, and then layered in some signature breathy vocal samples to really start feeling the groove.
Crafting the Drums
Now, let's talk drums. We started by looking for the perfect organic snare in "Raw Hits 3" from Whole Loops. Once we found one we liked, we added some extra character using the UAD tape echo plugin, setting it to reverb only and creating a parallel chain for a perfect blend of wet and dry signals. This gave us a really nice snare sound.
We then laid down a slow drum pattern. To add some energy, we introduced fast, dry filler snares using another snare sample and Ableton's arpeggiator, set to 32nd or 64th notes for quick snare rolls. This added a great dynamic contrast. For the kick drum, we pulled a sample from "Raw Hits" and created a slow pattern for impact on the downbeats. We also added some "bendy subdrop" effects to make the kick even more dramatic. Later, we'd use a faster kick pattern for the hook.
To add some organic percussion, we used a Whole Loops sample and slowed it down using Ableton's beat warp mode, which gives unique rhythmic stretching. After layering a few more samples, the final drum arrangement for the hook came together, sounding full and driving.
Vocal Recording and Mixing
It was time to record the vocals. We used a personal vocal template from iamkarra.com, which saves a ton of time by having all the favorite plugin chains, tuning settings, and levels pre-configured. This template works with 100% stock plugins and is available for all major DAWs.
We started with the lead vocals, singing the main melody. It was interesting to note how singing with hands seemed to help hit the notes better. We recorded each hook section separately to build intensity. After getting a few takes, we comped together the best parts for the lead vocals, cleaned up breaths, and added fades.
Next came the harmonies and doubles. We added high octave harmonies and doubled the lead vocals, panning them left and right for a wider sound. Harmonies were used as simple accents during key moments. We also experimented with a call-and-response pattern for some sections.
For a big post-chorus effect, we used Valhalla Room for a long reverb, Verb Sweet Classics for a short reverb, and Little Ultra Boy for a high octave layer. To make it even more interesting, we used Ableton 12's autopan tremolo plugin, automating the amount and frequency knobs to create a trippy vocal effect. Automating effects by hand really brings the production to life.
Adding Ear Candy and Mastering
To add more texture, we played a counter-melody with a string preset in Nexus during the final chorus. We also added muted guitar plucks with delays for a rhythmic element. Then, we layered in some real guitar parts, recorded directly into the preamp and processed through Guitar Rig 6, adding low, high, and very high notes.
With all the production and vocals mixed, it was time for mastering. We used Ozone 12 Advanced, starting with the "Balanced Master" preset. We pulled down the input gain to create headroom and removed the low-end focus module since the mix already had plenty of bass. For the final maximizer, we used the IRC 4 modern algorithm and adjusted the gain for loudness. We then added iZotope Insight 2 to check our final loudness, aiming for around -7 or -8 LUFS.
The Final Result
After going through all the steps – producing the beat, recording vocals, adding effects, ear candy, and mastering – we listened back to the finished track. The result was a slowed-down, cinematic pop ballad version of "Move Your Body," complete with rich instrumentation, polished vocals, and a professional master. If you're looking to create your own cinematic pop tracks or need professional vocal recording and mixing services, book the Rainforest Room – vocals from $200/2hr – or send stems for our Mix service.