The Arturia AudioFuse: A Pro Engineer's Take on This Tiny Powerhouse Interface
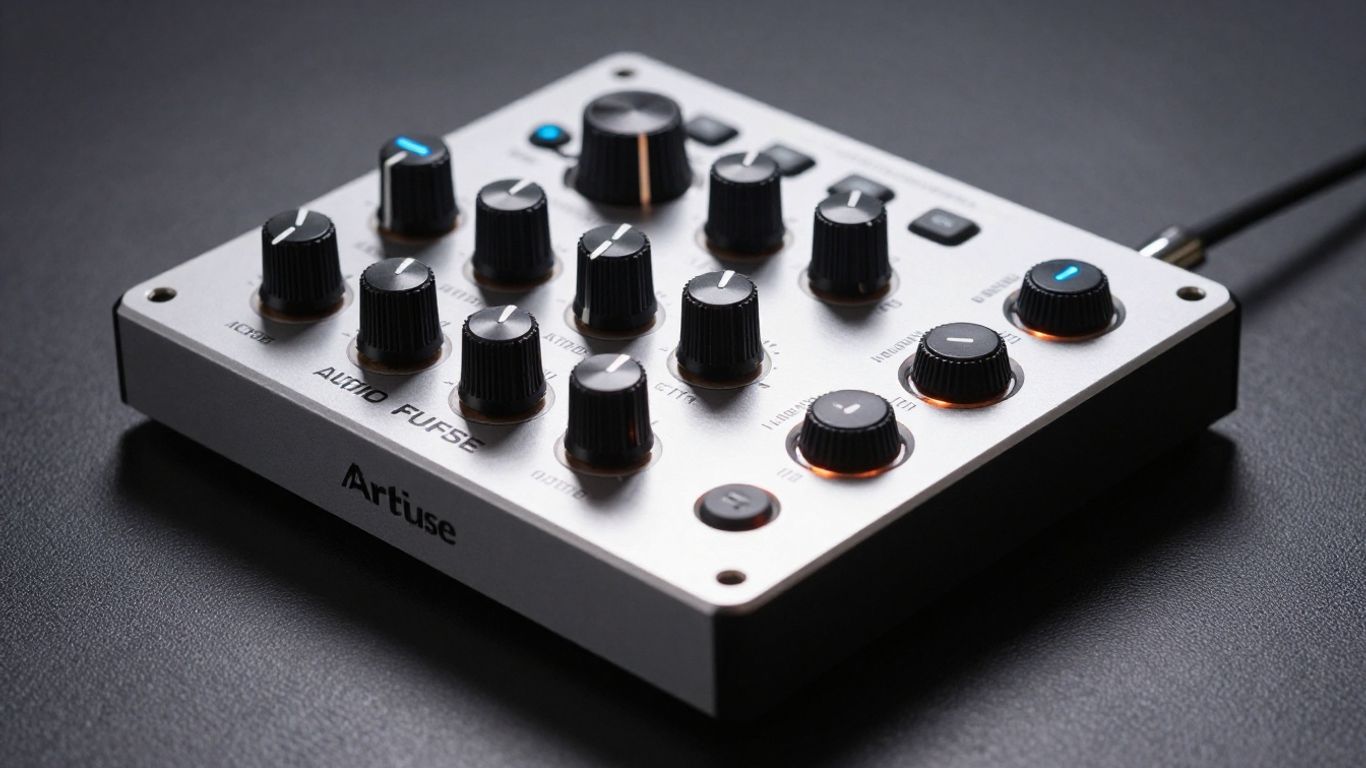
Just got my hands on the Arturia AudioFuse interface, and I had to share my thoughts. Even with all the gear I already have, this little box stands out. It's the smallest in the AudioFuse lineup, but don't let the size fool you – it's a no-compromise, high-end audio interface packed with all the connections you could ever need. Let's check it out.
Key Takeaways
- High-Quality Preamps & Converters: Delivers professional sound quality in a compact unit.
- Versatile Connectivity: Offers a wide range of analog and digital I/O, including rare features like inserts on a small interface.
- Innovative Gain Feature: The "pad" button doubles as a clean gain booster for demanding mics like the SM7.
- Compact & Portable: Ideal for mobile setups or expanding existing studios.
- User-Friendly Design: Intuitive front panel with backlit buttons and clear metering.
A Closer Look at the AudioFuse
This is a four-input, four-output interface with digital expansion options. On the front, you'll find two mic preamps, easily accessible, along with two headphone outputs that support both 1/4-inch and mini-jack connections. It's designed with ventilation ports on the sides and a rubberized bottom for stability on any surface.
The back panel is where you really see the power. It boasts two pairs of speaker outputs and two line inputs. What's rare for an interface this size are the two inserts on inputs one and two, perfect for running compressors or EQs during tracking. You also get RCA phono outputs, a USB port for power, and three additional USB ports for connecting other devices or charging your phone.
The Control Surface
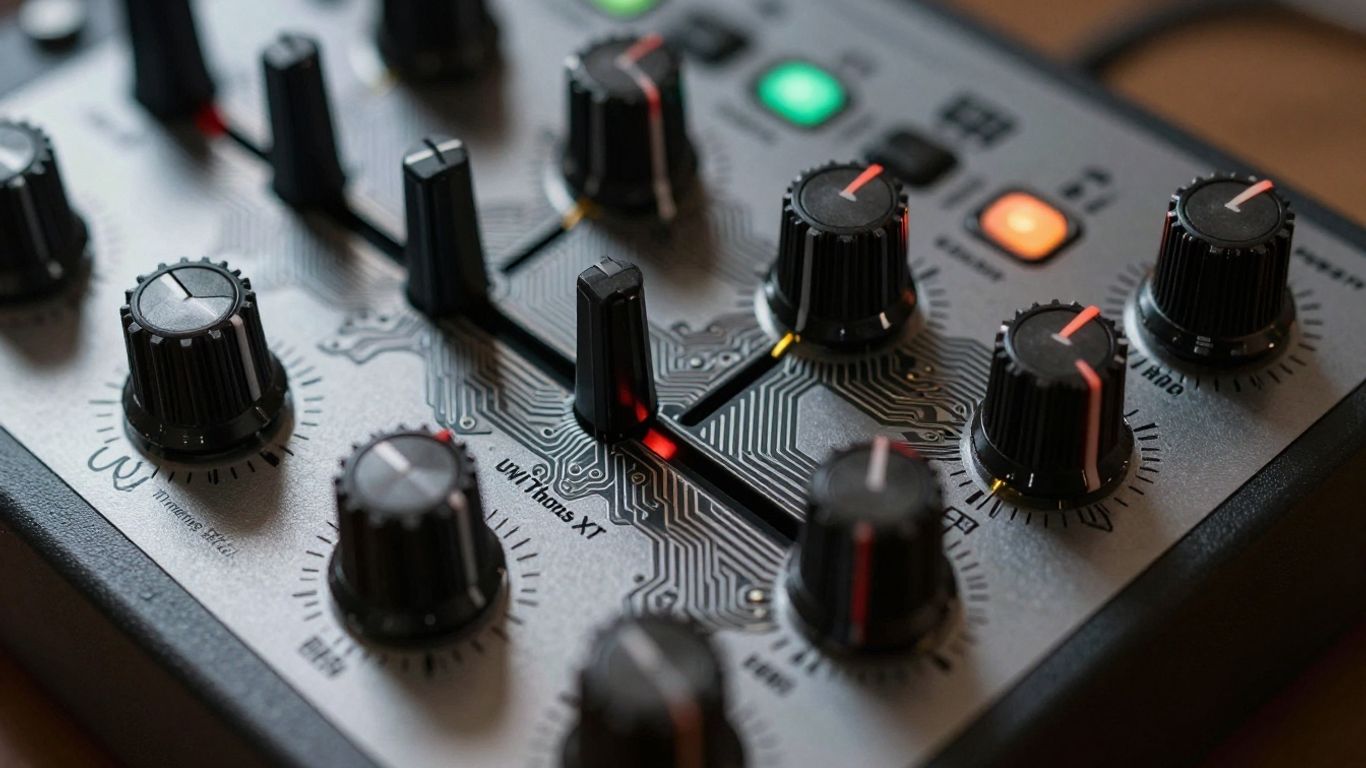
Popping the top off reveals the main control panel. The slanted front is really slick and makes everything easy to see and access. You've got gain knobs for the inputs, a large output level knob, and separate controls for the two headphone outputs. All the buttons are backlit, which is a nice touch.
On the back, hidden away, are the digital connections: two MIDI inputs (adapter cables are included) along with SP/DIF, Word Clock, and ADAT in and out. The box comes with the USB cable, MIDI adapters, and the power supply.
Plugging In and Getting Started
Once you plug in the DC power and the USB cable, the unit lights up. I had the drivers installed beforehand, and my laptop recognized it instantly. Pro Tools also picked up the correct drivers without any fuss.
The front panel buttons have some cool functions:
- 48V Phantom Power: For condenser mics.
- Base Inversion/Pad: This button has a dual function. Pressing it once acts as a standard pad. However, if you keep it pressed, it turns red and provides an additional 10dB of clean gain for your mic input.
- Instrument Button: Switches the input from mic/line to instrument level.
- Q Selection, Mono, Cue, Mute, Speaker A/B: Standard monitoring and routing controls.
The big output knob has a ring light that shows your output level, and there are dedicated controls for the headphone mixes. The mix knob on top lets you blend between your direct input signal and computer playback for zero-latency monitoring.
The Preamps: A Standout Feature
We've already mentioned the clean preamps and great converters, but the preamps deserve special attention. They offer super high gain with remarkably low noise, similar to my other Arturia interface, the AudioFuse 8Pre. I've got a dedicated review of that interface if you want to hear these preamps in action.
To demonstrate the high gain, I'm using an SM7 microphone, which notoriously needs a lot of gain. With the gain knob set halfway, I can get a decent signal, but it's a bit low. However, by engaging the "pad" button and keeping it pressed (turning it red), I get that extra 10dB of clean gain. This allows me to drive the SM7 or even a ribbon mic without needing any external signal boosters. It's a really smart feature for getting strong, clean signals from demanding microphones.
Why This Small Interface?
You might wonder why I, with a larger studio setup, would need this compact interface. Recently, I got a new mastering converter, the Dangerous 2-Bus+. I wanted a way to print my mixes and masters to a separate computer, in this case, my laptop. While my 2-Bus+ prints the mix to that computer using its ADAT output, this AudioFuse can connect to the digital input on the back of the 2-Bus+. This setup allows me to print my mixes to both my main computer and my laptop simultaneously using the Arturia AudioFuse.
Final Thoughts
Before I wrap up, don't forget to check out the massive remix contest for Bella Kelly's single "Throat." There are thousands of dollars in prizes from over 18 companies, so it's a great opportunity to win some gear. The remix is open to any genre, so get creative! Keep an eye out for the official announcement video with all the rules and details. Also, follow MixbusTV on Instagram and Facebook for more exclusive content. Subscribe if you haven't already, and thanks for watching!